Step By Step Guide - Standard Dent Removal
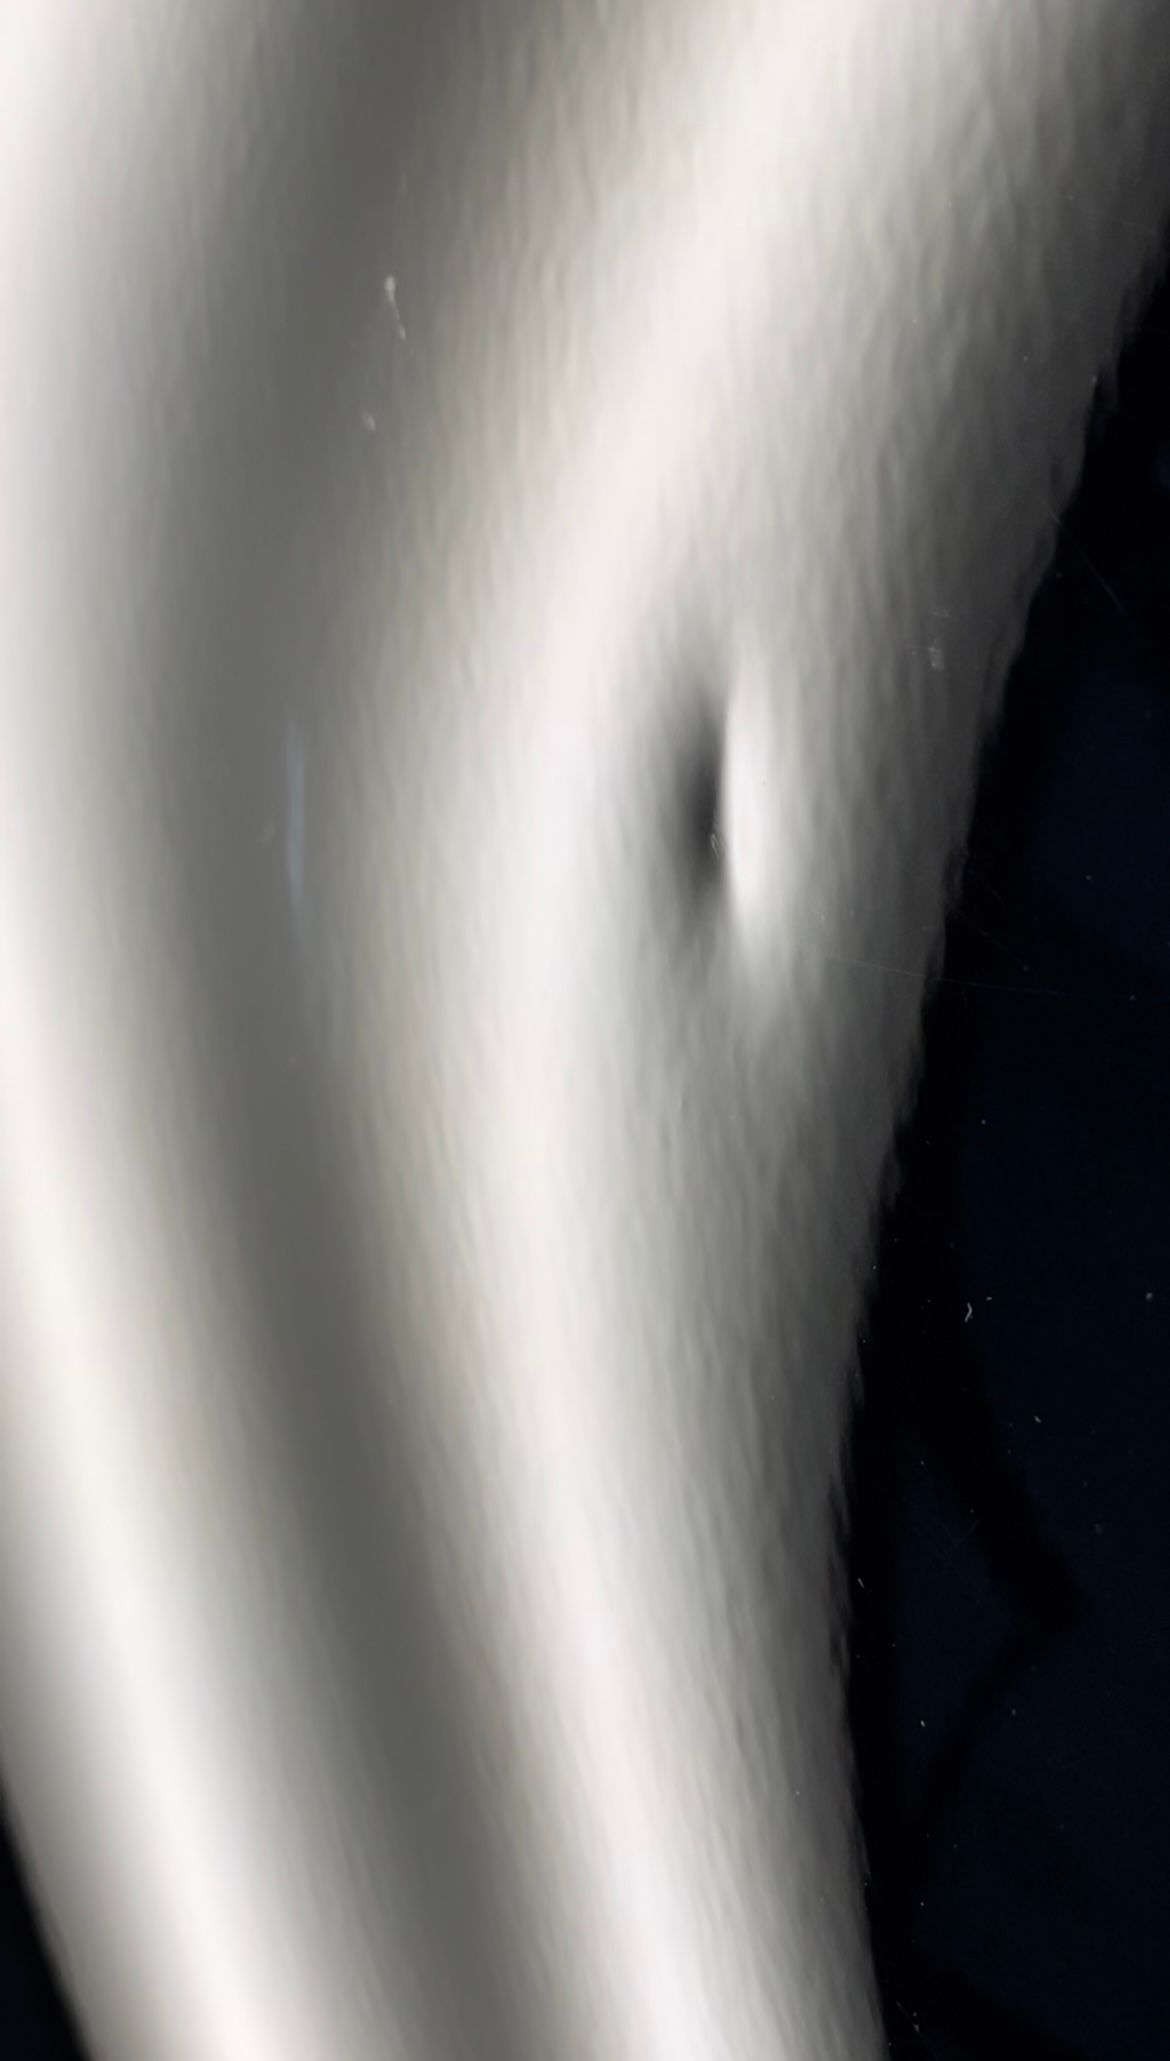
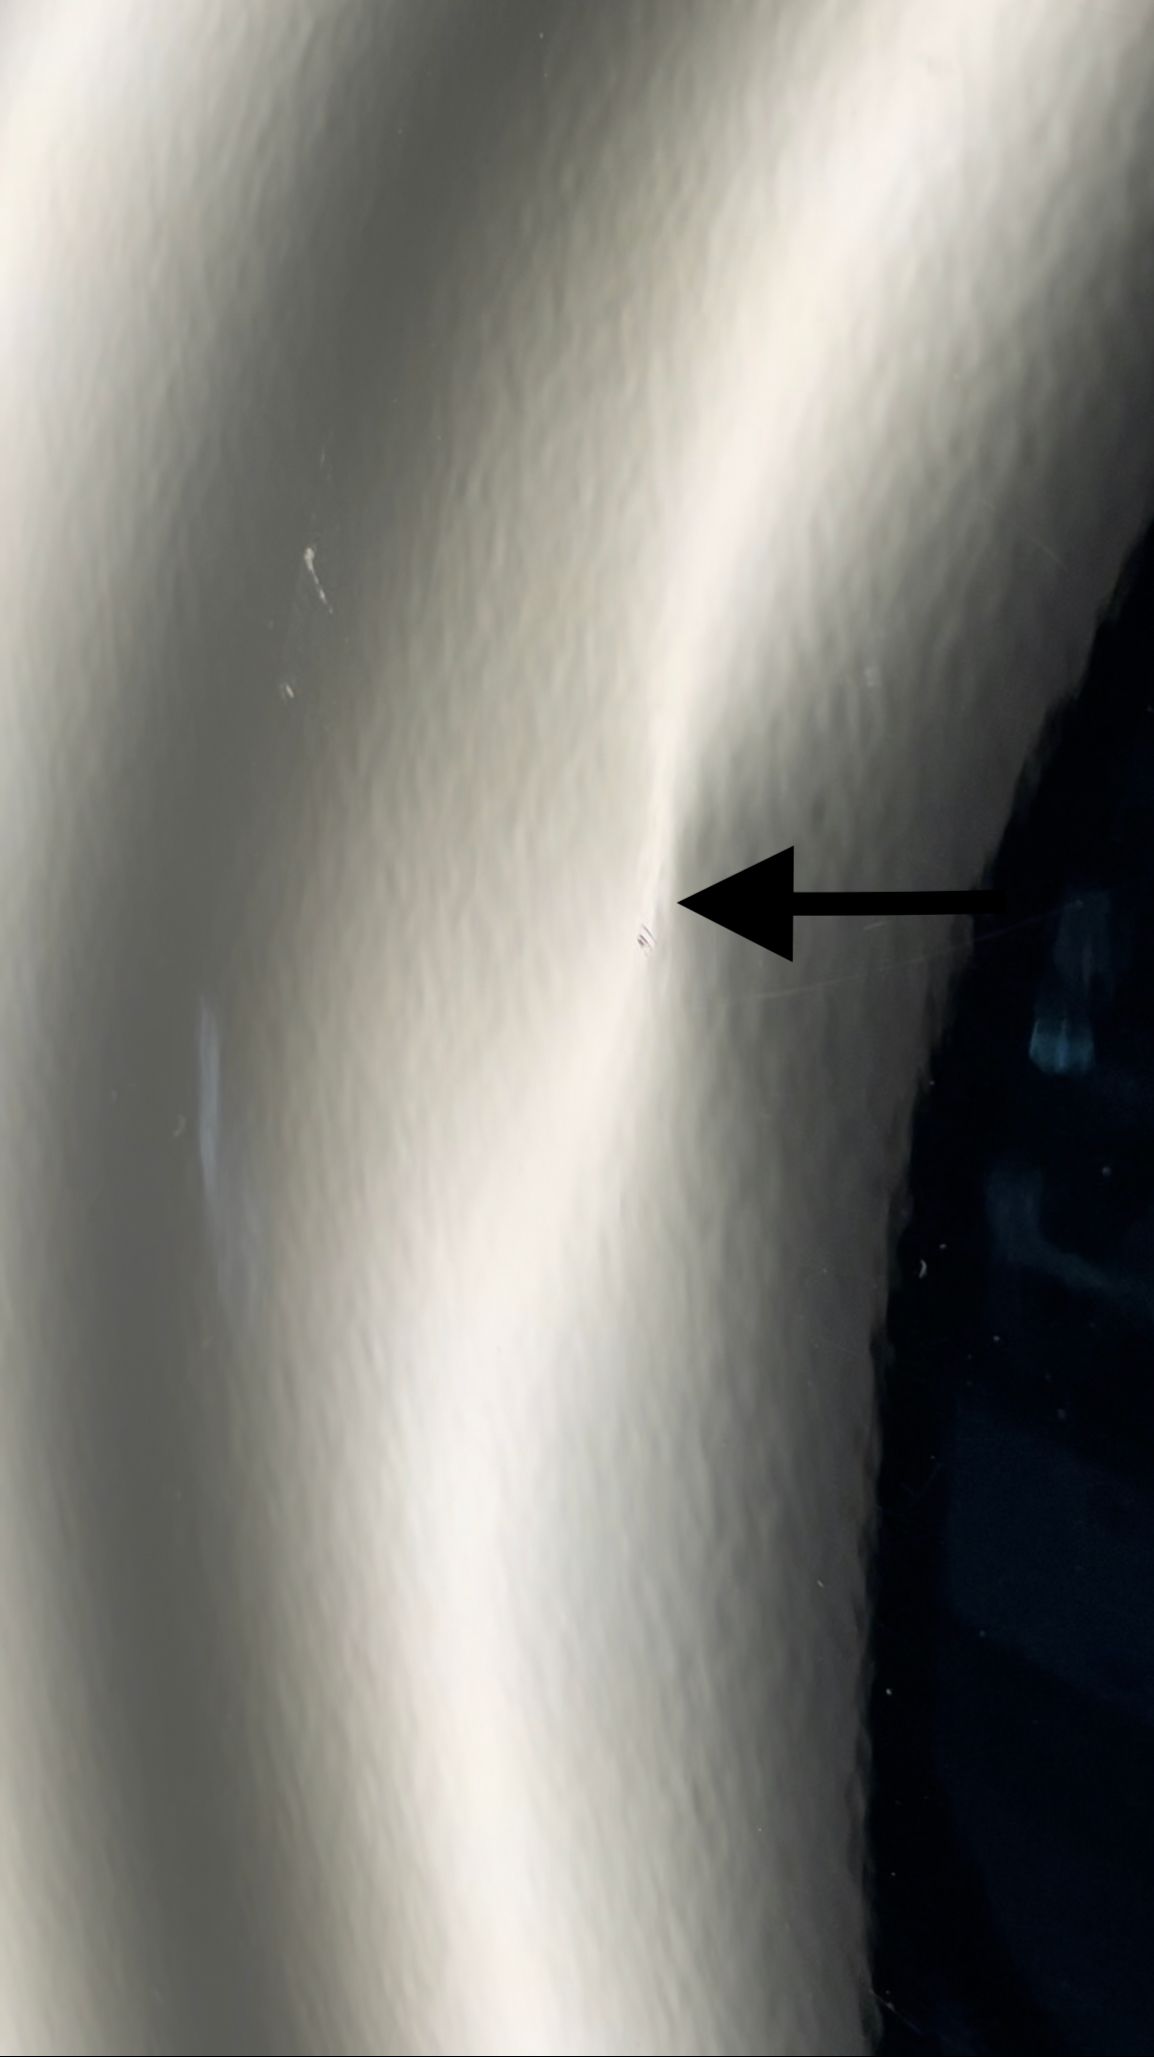
Here we have a standard quarter-size dent that we will remove with specialized tools from the panel's backside.
This process is called the Paintless Dent Repair process.
This extrinsic skill is the precise foundation of PDR, and we will always resort to these concepts and foundations when working on almost any damage.
Let Us Get To It!
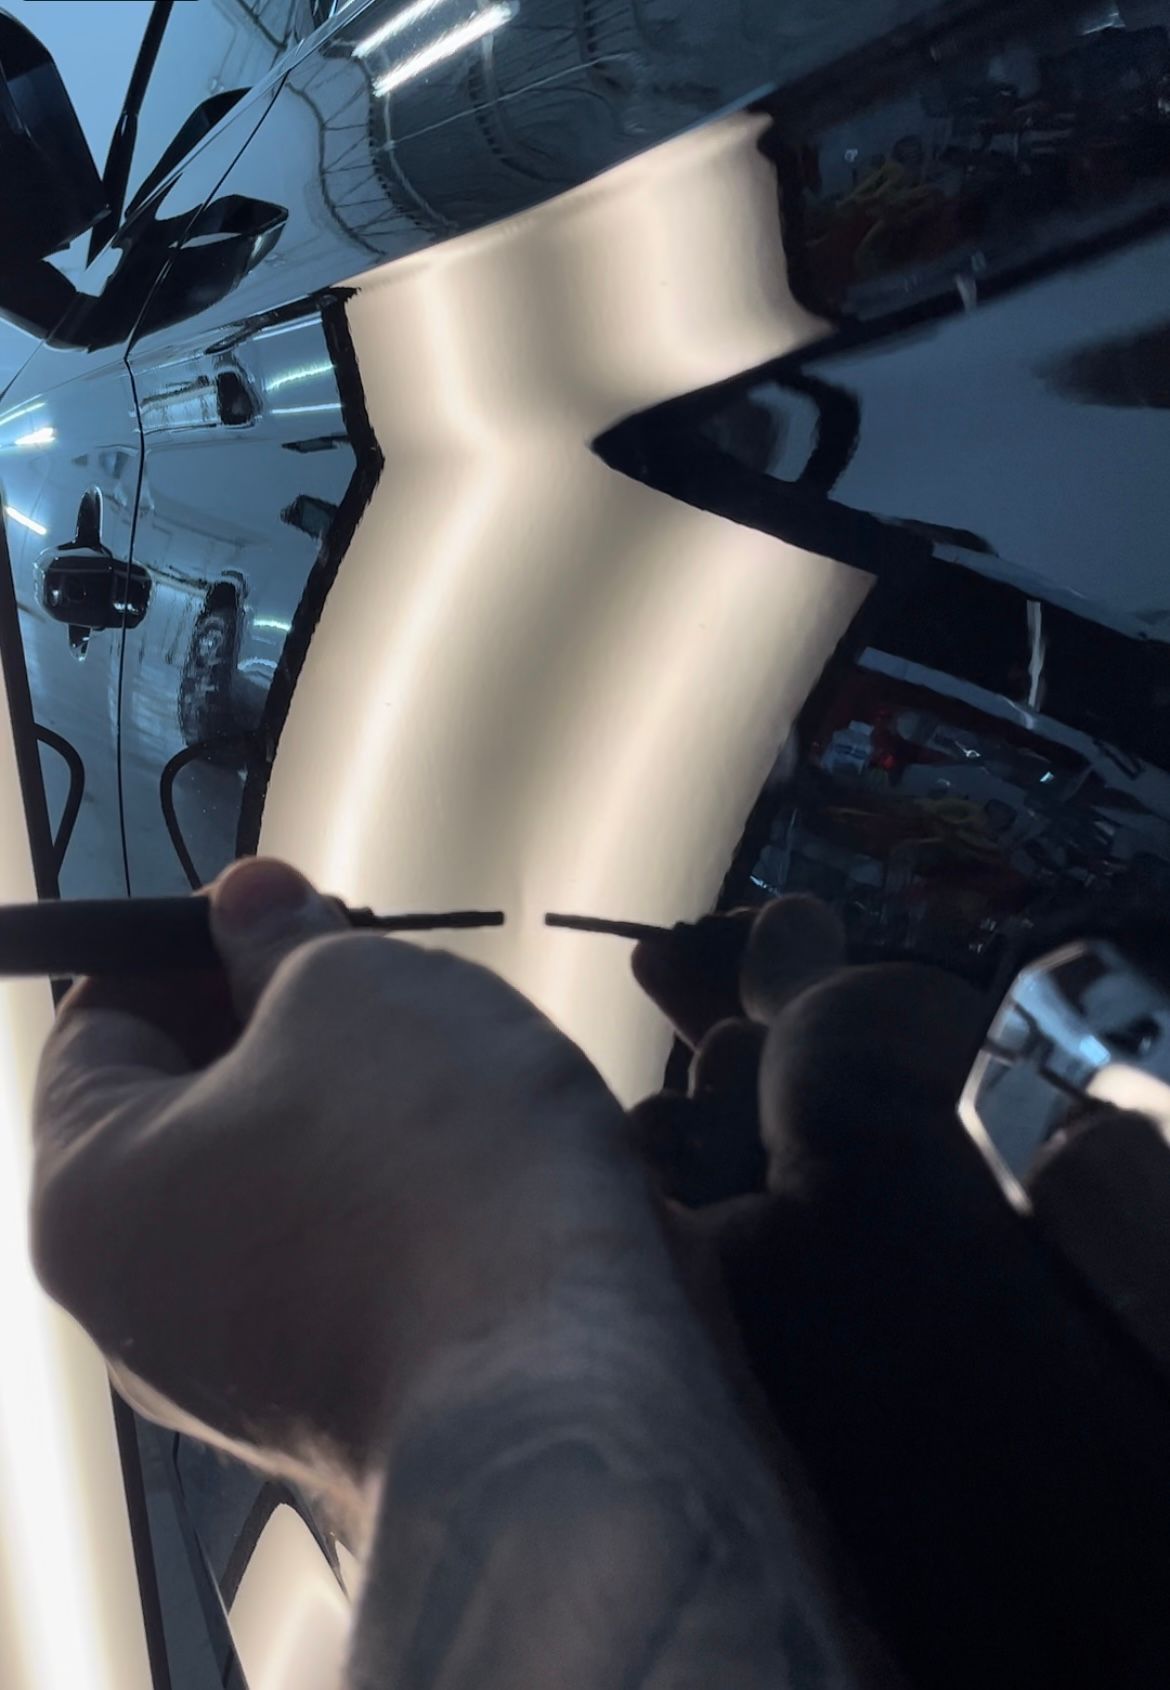
Step 1.
We will push the center of this damage with precise pushing to bring it up to the surface or flat.
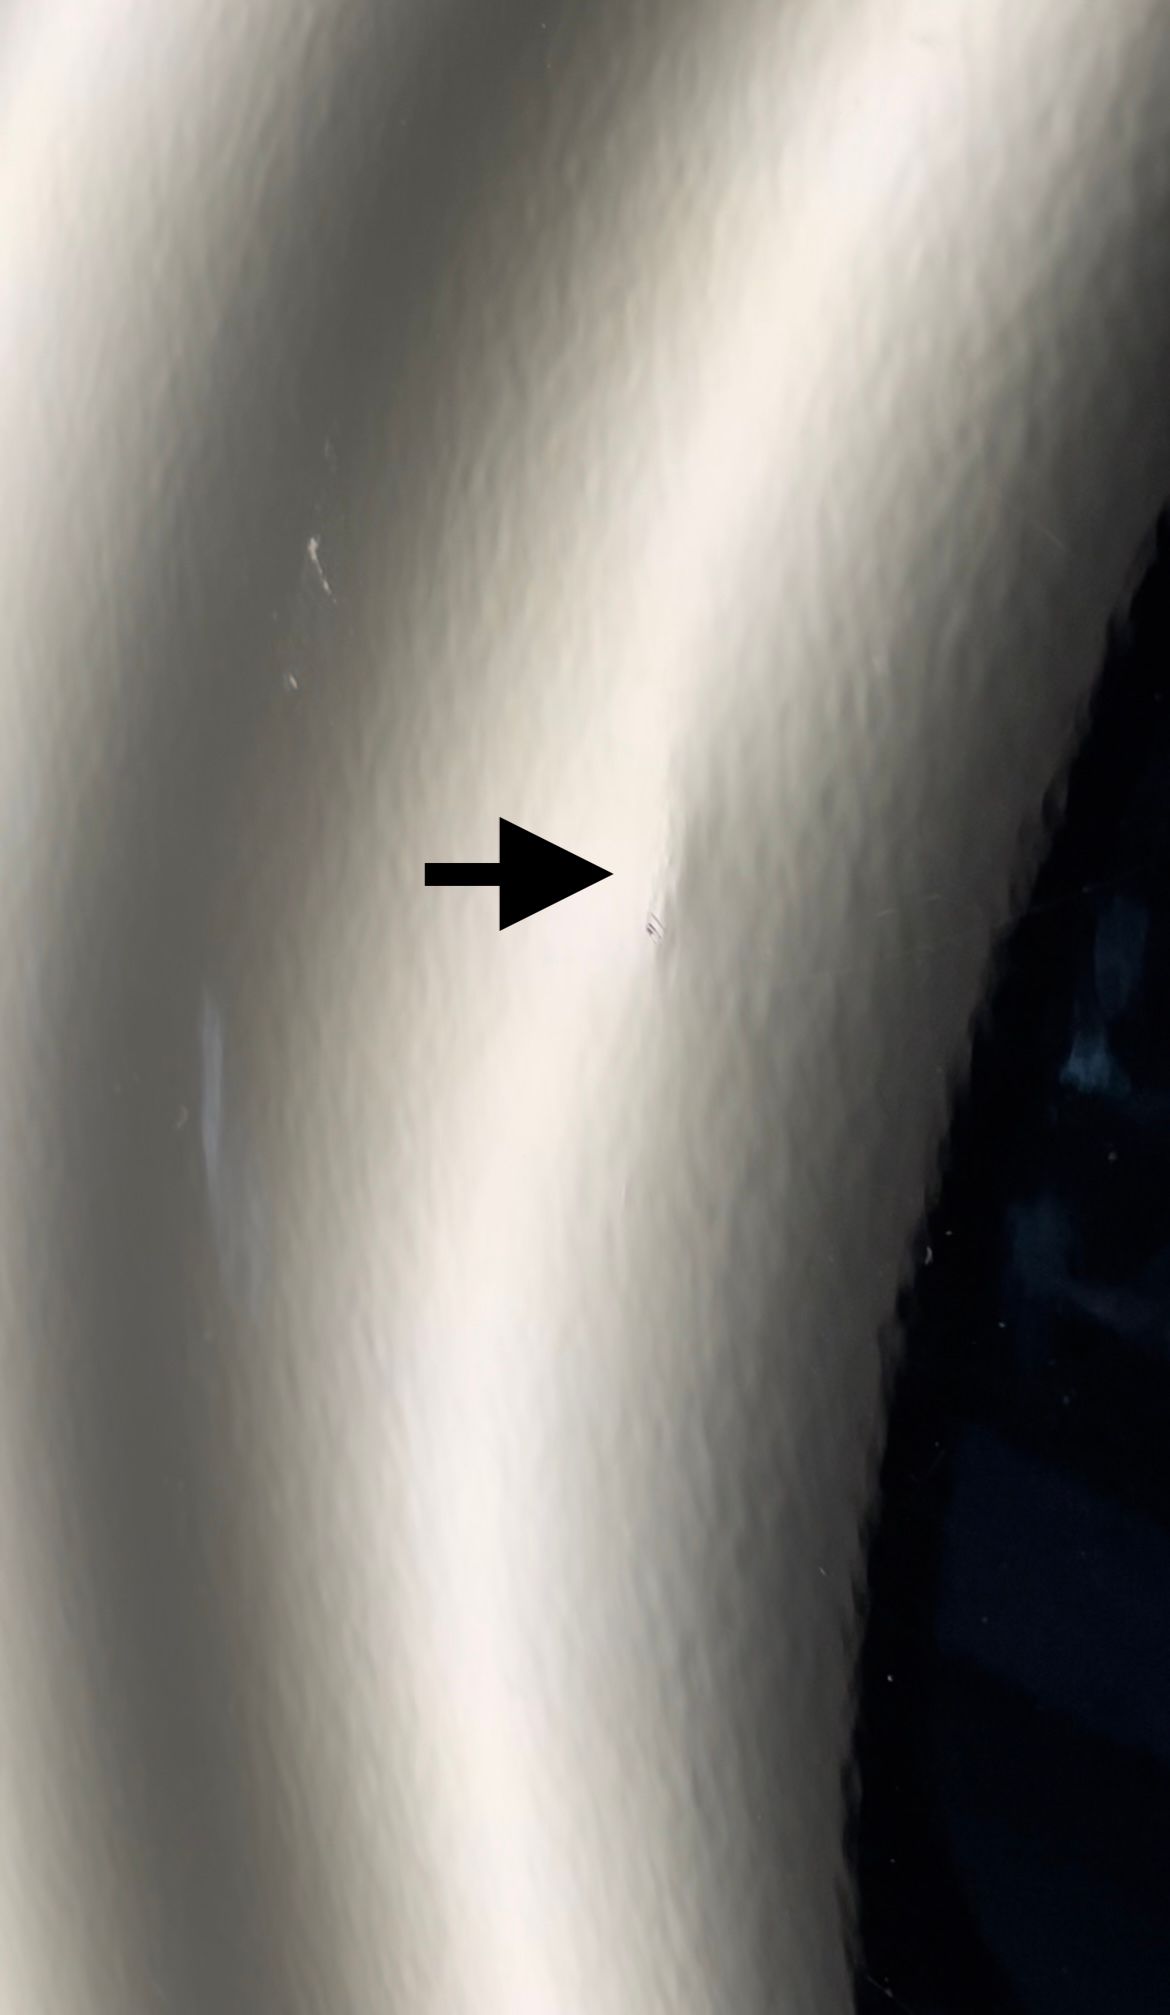
Step 2.
We will knock down any high spots and even out the damage to make it match the flat plane around it.
Step 3.
It is time to pick out any micro lows still in the dent so we can match the damaged orange peel to the factory finish.
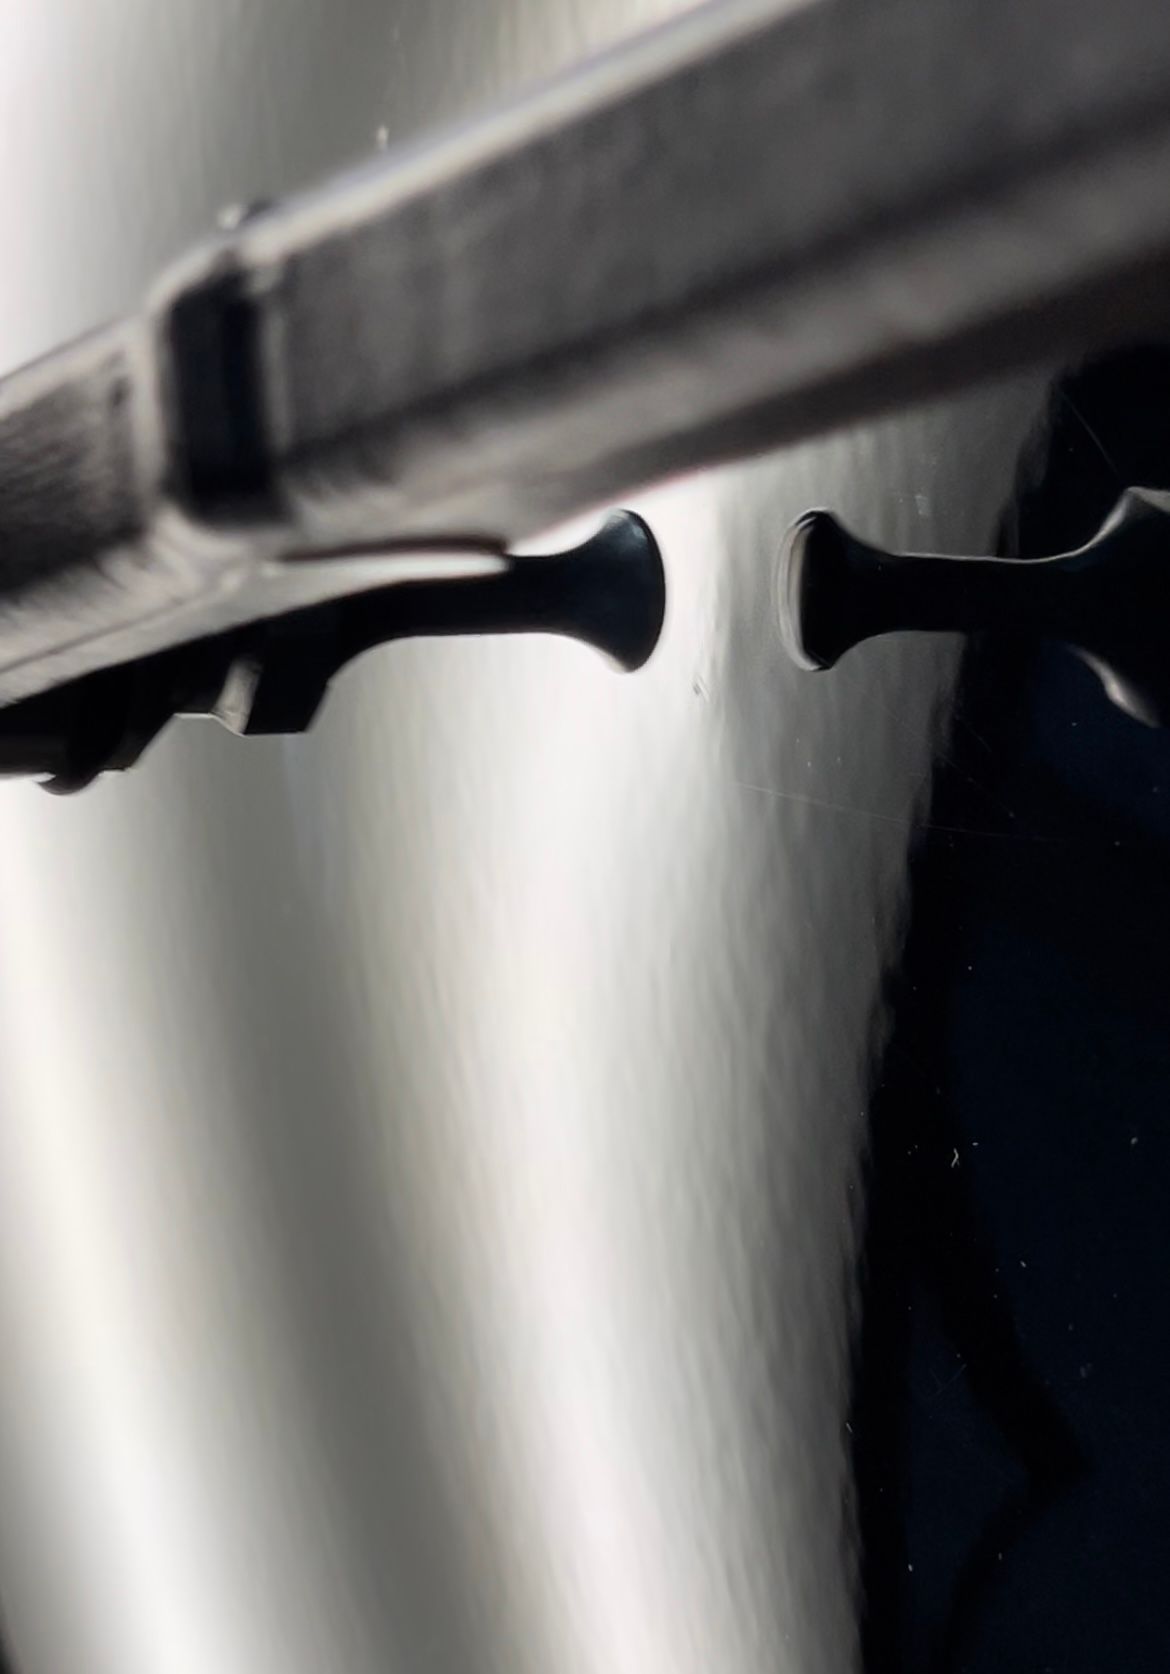
Step 4.
Once we have pushed all of the micro lows, we are left with another soft high spot, and we will knock down to finish.
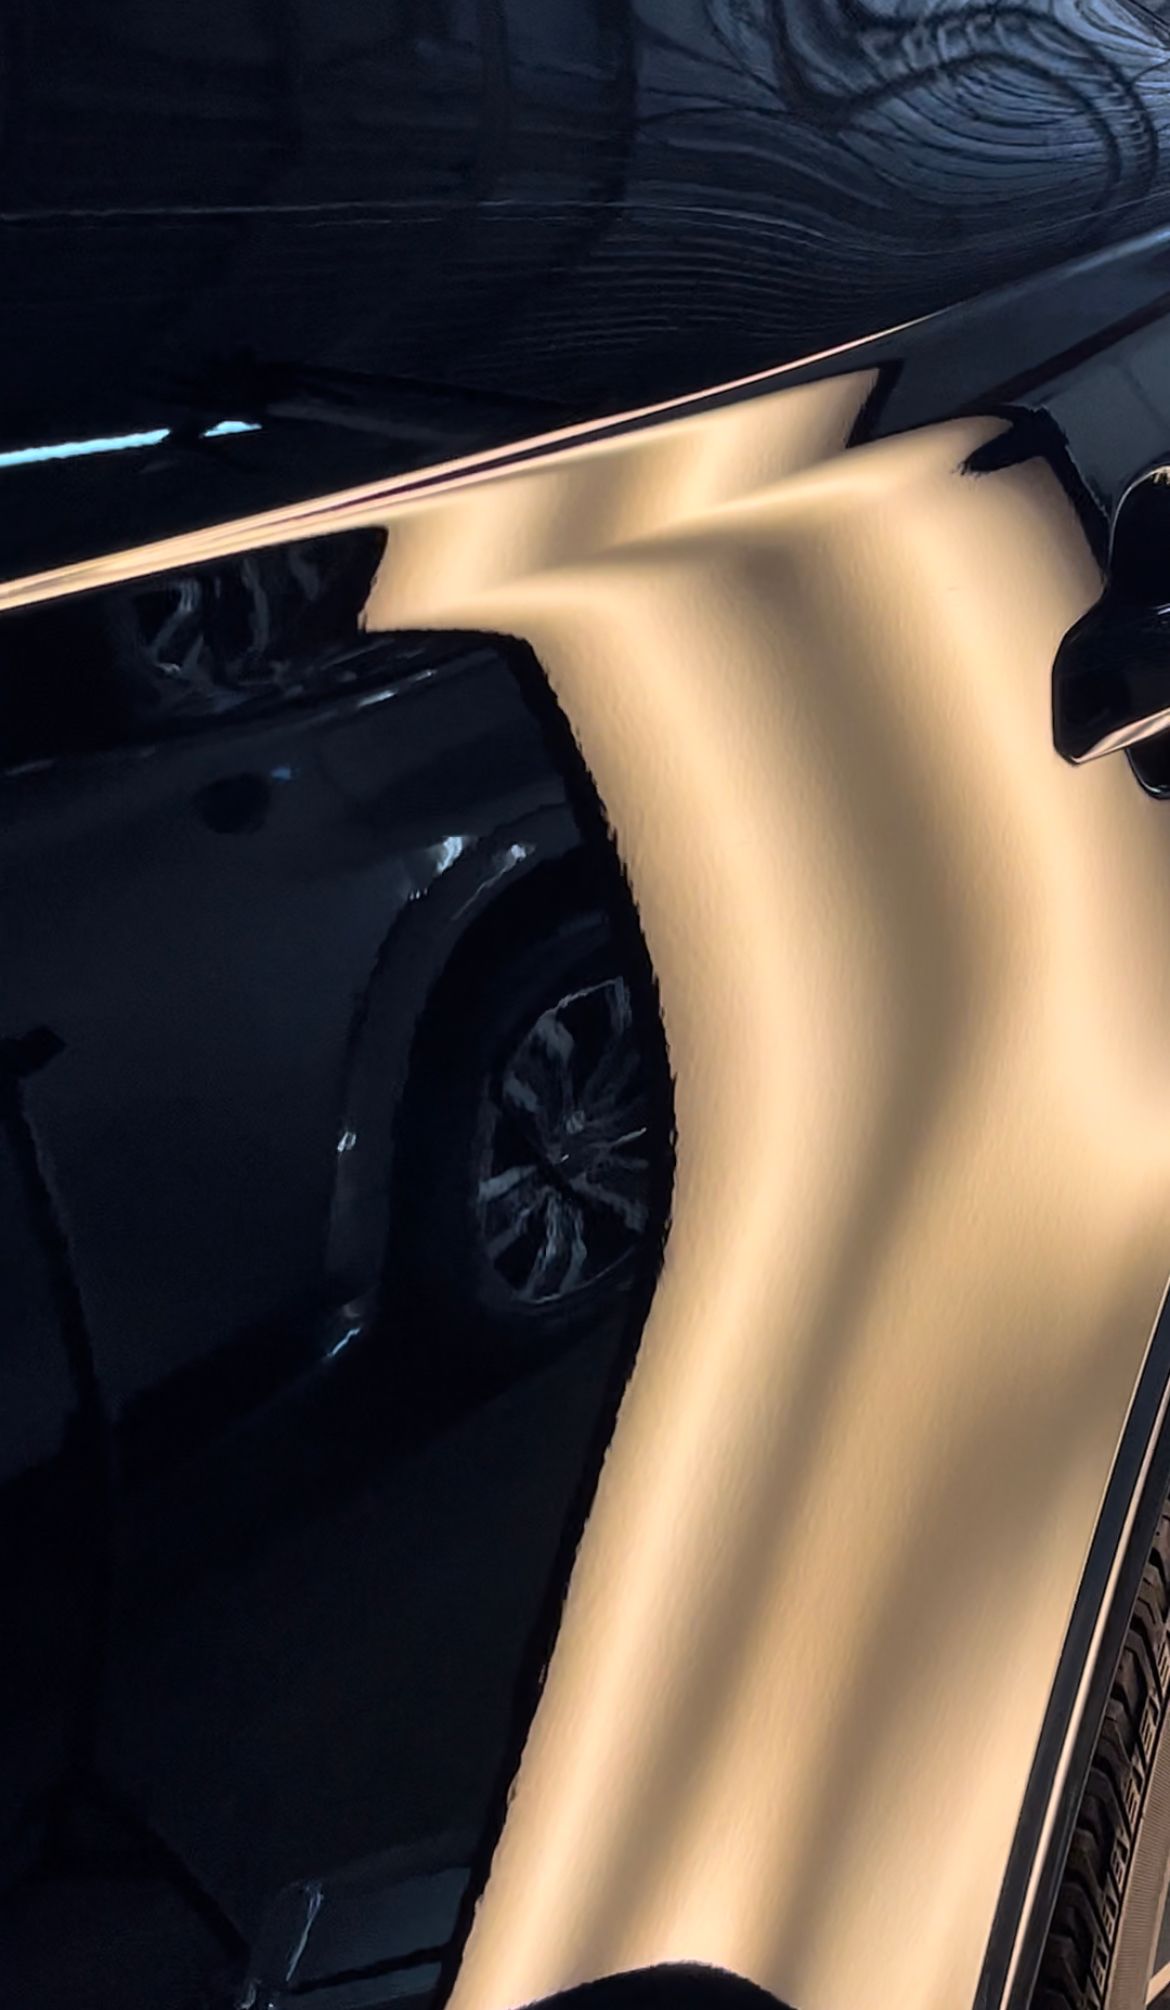
Step 5.
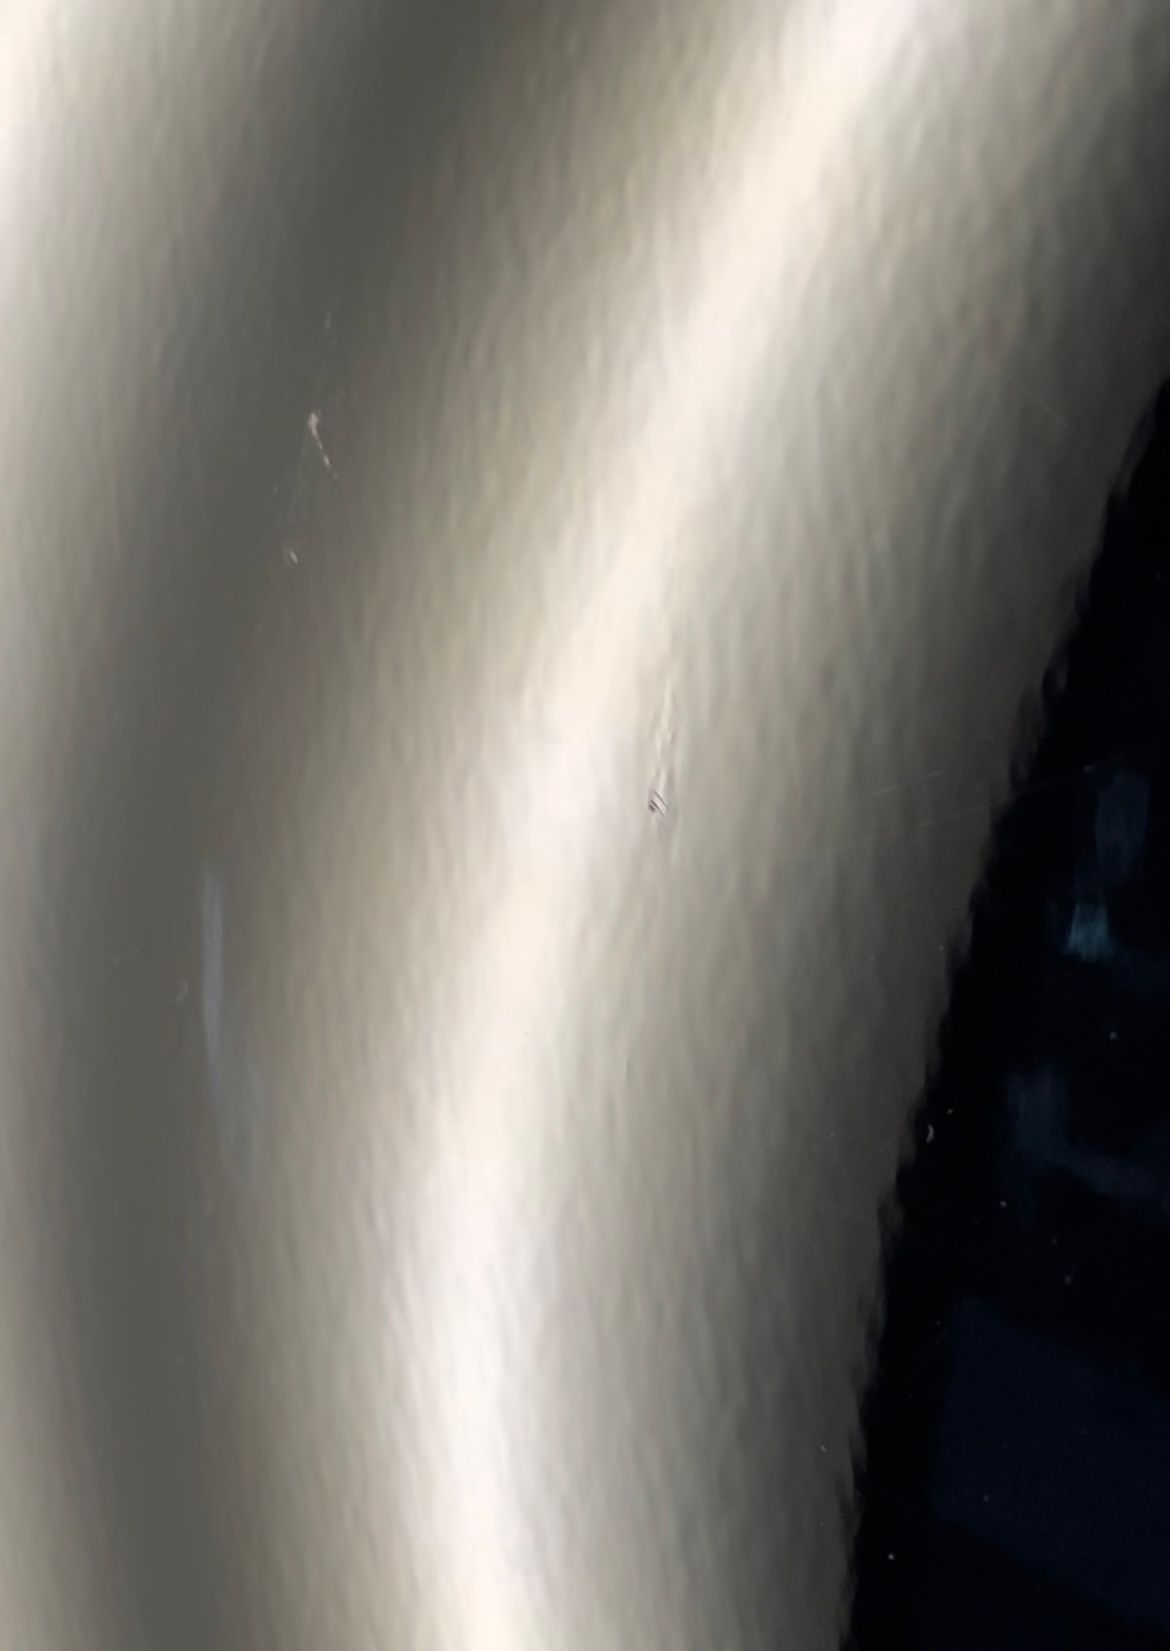
Tap to finish from the topside of the panel until there are no more shadows, the damage is flat, and we are back to a factory finish.
These are the basic steps that any beginner can follow to remove dents within the panel of a vehicle. These basic principles will always be resorted to when repairing dents, large or small.
Join our top tier, and don't miss out on more premium content like this!
If you are seeking more information or want to talk about PDR Training, you can reach us at www.DentlessTouch.com/training

Comments ()